
Nowadays Chat becomes a powerfull tool to increase customer experience and boost in sales. So If you are looking to improve your customer service and want to increase revenue then you should install this chat feature in your magento2 website. Follow this easy-to-follow guide to learn how to set up chat in Magento2 and start engaging with your customers in real-time.
Choose a right Chat Extension
There are lots of Chat Tools are available in Market, Below are few of them
- Tawk.to (Free)
- Zendesk (Paid)
Tawk.to is a live chat and messaging application that allows businesses to communicate with their customers in real-time. The platform was launched in 2013 and has since grown to become one of the most popular live chat solutions on the market.
Zendesk is a cloud-based customer service and engagement platform that helps businesses to build better relationships with their customers, It is a Paid service and providing ticketing and chat both feature , It has other features as well.
Install the chat extension in Magento2.
Steps to Setup Tawk.to
- Visit tawk.to website
- Register your account
- Now Login to your tawk.to account
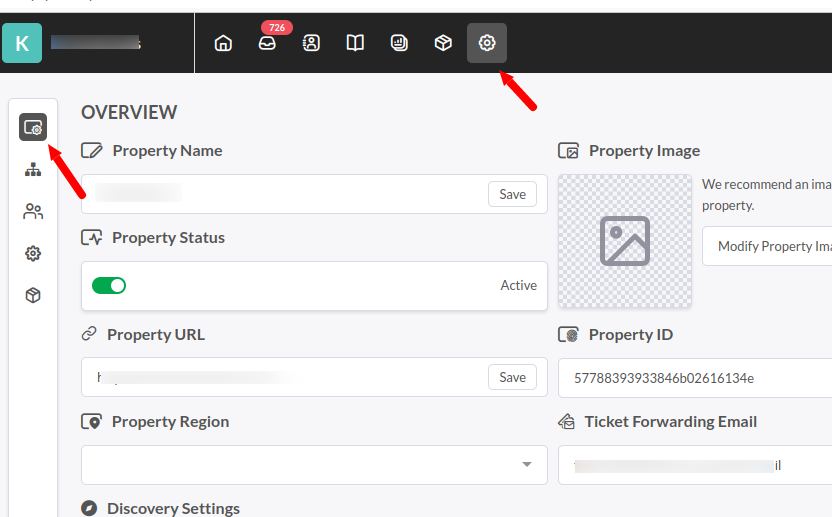
- Go to Settings Icon at upper and click on chat widget. Screenshot below
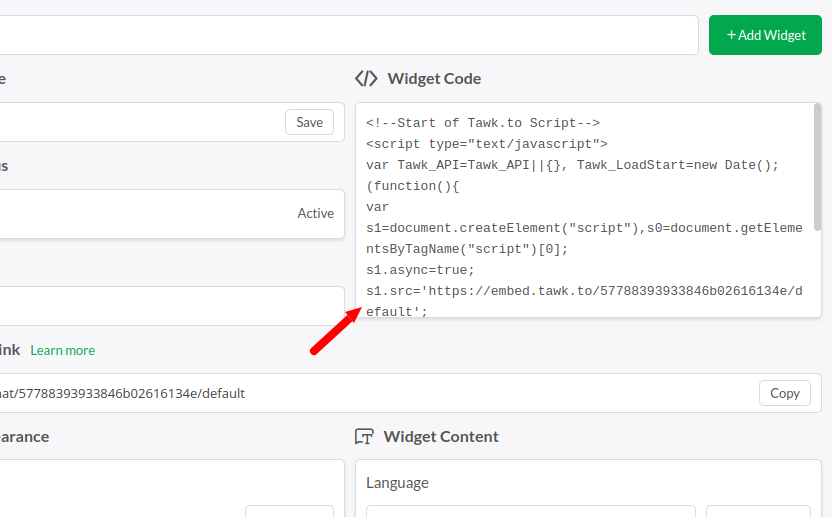
- Now Copy the Widget Code as below
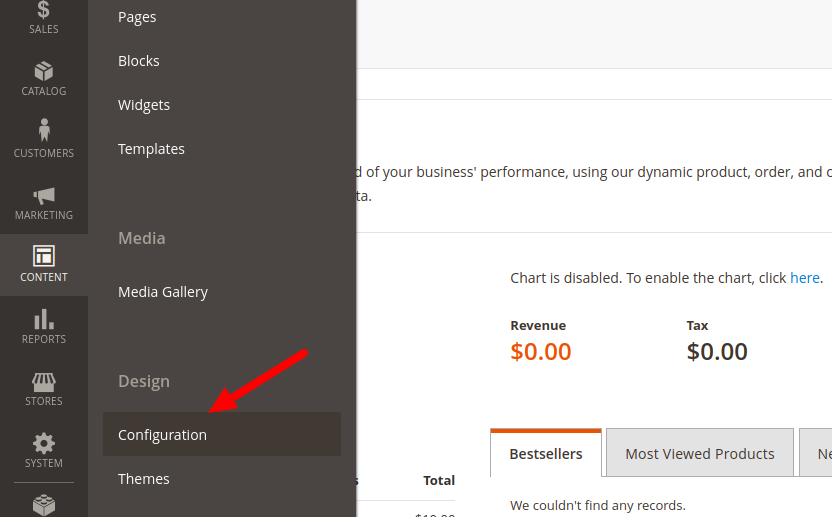
- Go to your Magento 2 Admin Design Configuration, See Screenshot below
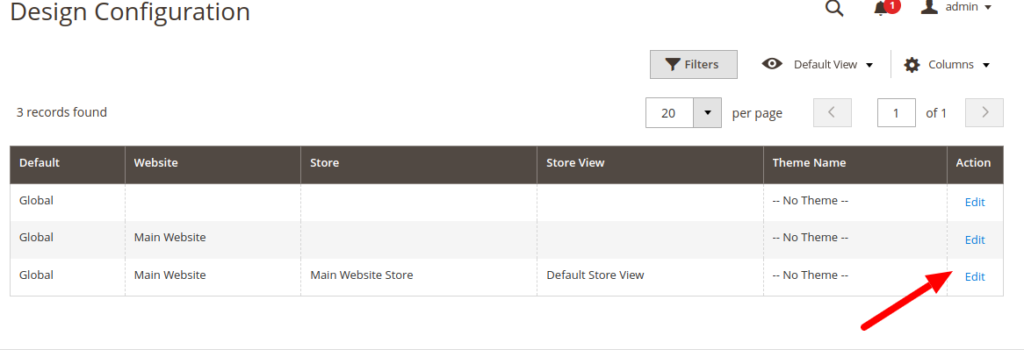
- Now Select your theme as below
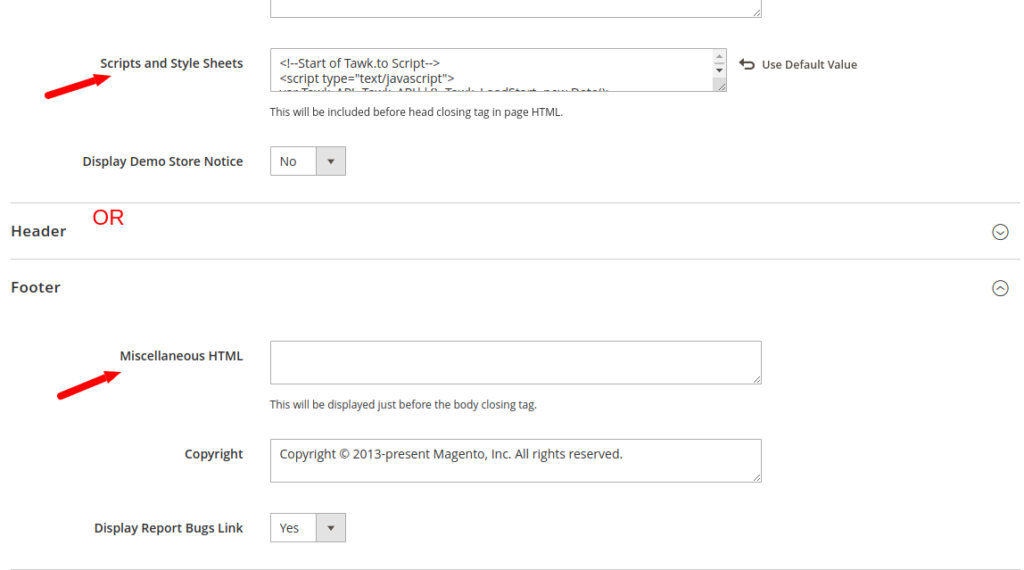
- Now Enter the widget code either in head > Scripts and Style Sheets Or Footer > Miscellaneous HTML.
- Now Save configuration and Clear your cache from Cache Management.
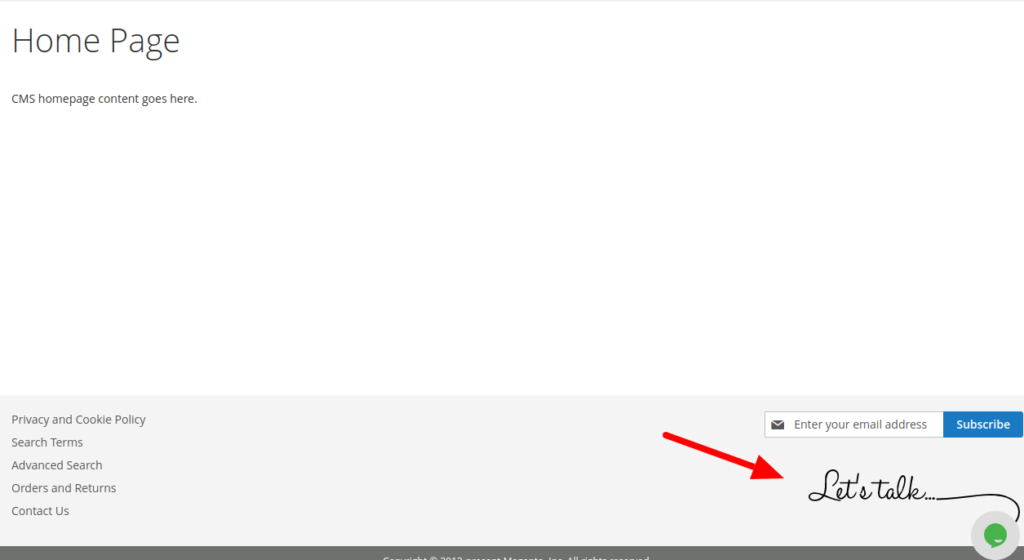
- Open your Magento 2 Store and see the chat Widget
Steps to Setup Zendesk
- Visit Zendesk
- Either Create Paid account or Setup Free Trial account
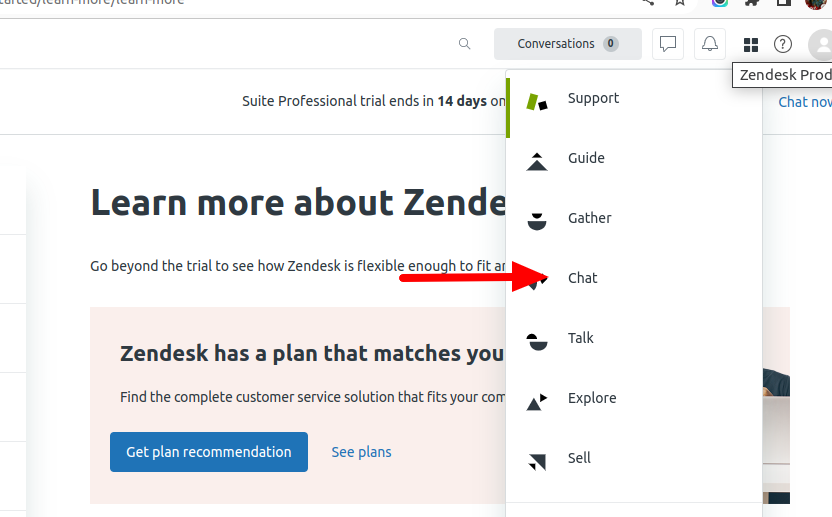
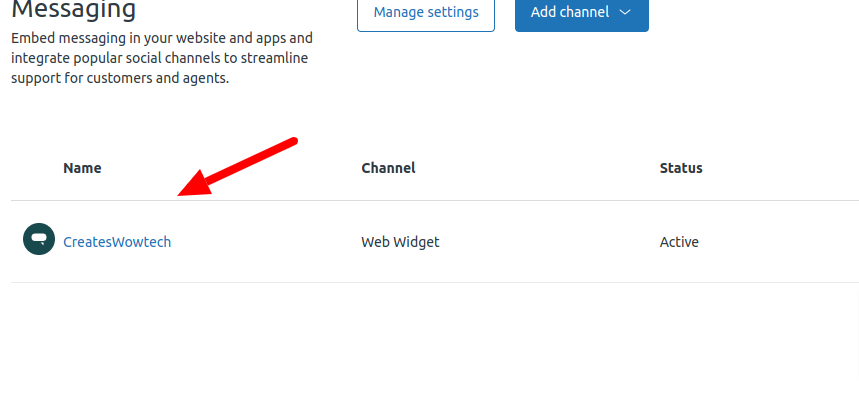
- Go to Chat Widget as shown below
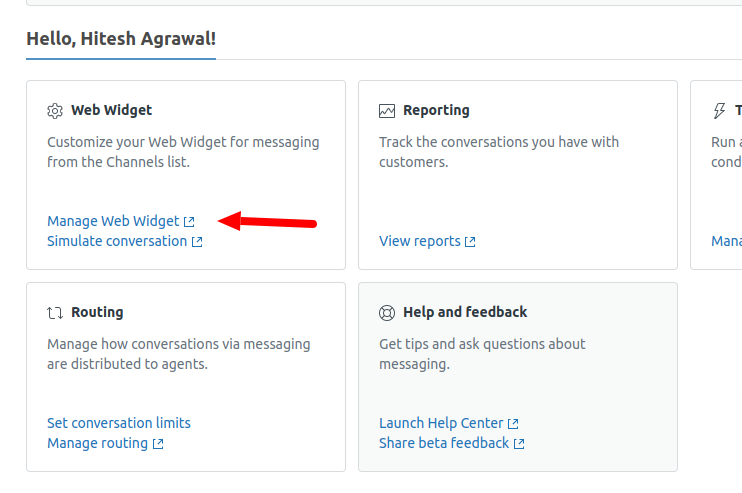
- You will see the widget code as below, Enter in your Magento 2 Design configuration and clear the cache as mentioned above
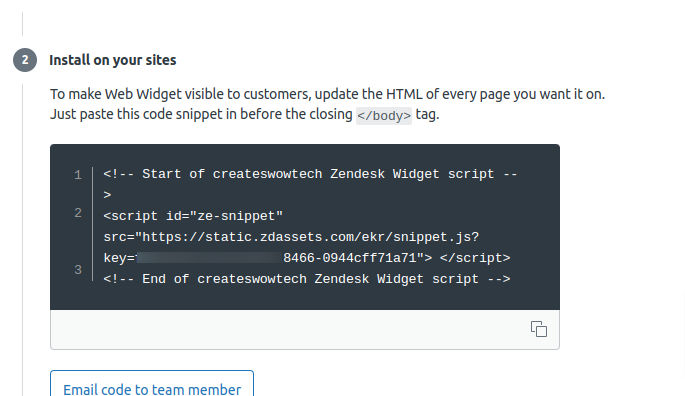
and Click on Next and Finally click on Save.
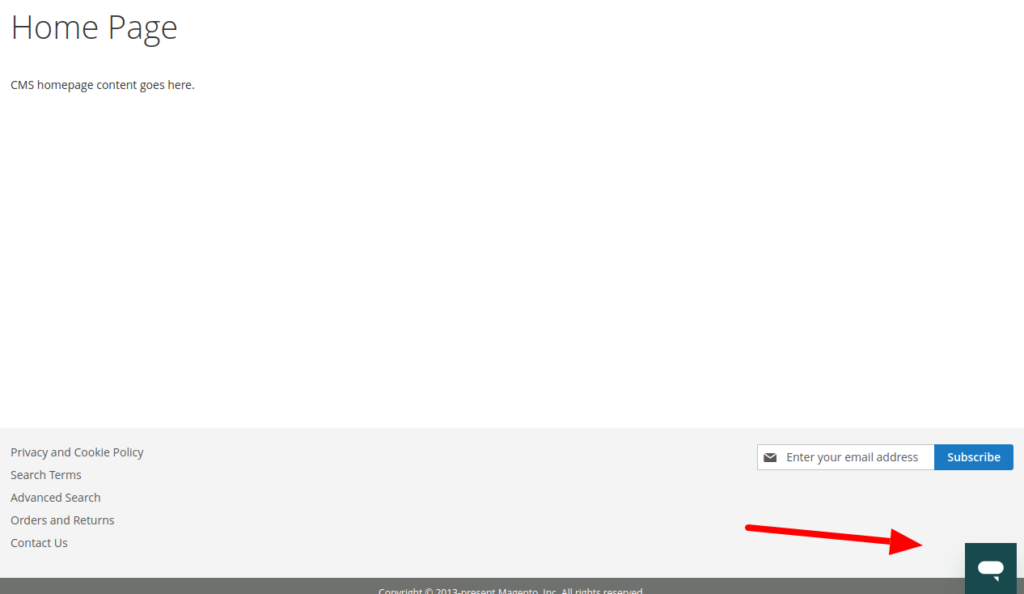
Now go to your magento 2 store and you can see the chat widget at bottom right corner as below
Hope you like this blog so setup chat in your website and visit us again.