If you are looking for passive income and if you love to write content from your ideas , then blogging can be your right place to start. Nowadays Blogging has become a very popular way to share your ideas and information to large audience who are interested to your ideas and content. But many of us don’t have money to start blog website. Don’t worry , In Today’s Topic , I will show you how you can start your journey without money by creating blog website for free.
There are various platform(websites) available online, where you can start your blog website for free , But I will talk about top 2 top platform/websites which I personally like also I will show you how you can setup in easiest way.
Blogger (blogger.com)
Blogger.com is a free online blogging platform which allows you to create and publish your blog for free. Blogger.com is a google product. It is completely Free. You can also choose your templates as per your requirement.
You don’t need any technical knowledge to create blog website with blogger.com
As Blogger.com is free , it’s URL will be like yourblog.blogger.com , but if you want custom domain then you can buy a custom domain and integrate it with it so your blog website will be like yourblog.com
Now we will understand to setup step by step.
Step 1: Create your google account if you don’t have any yet.
Step 2: Visit Blogger.com
Step 3: Click on Create Blog as shown in screenshot

Step 4 : Logging to your Google account
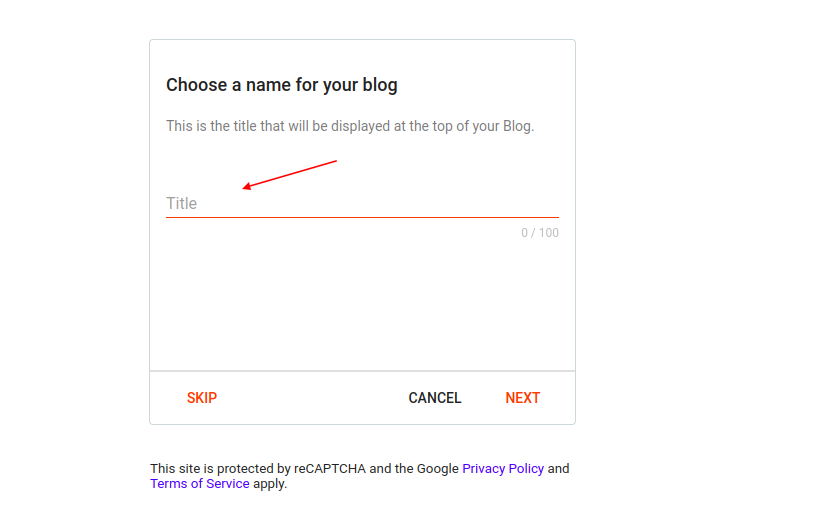
Step 5 : Enter Blog Title and Click on Next as shown in screenshot
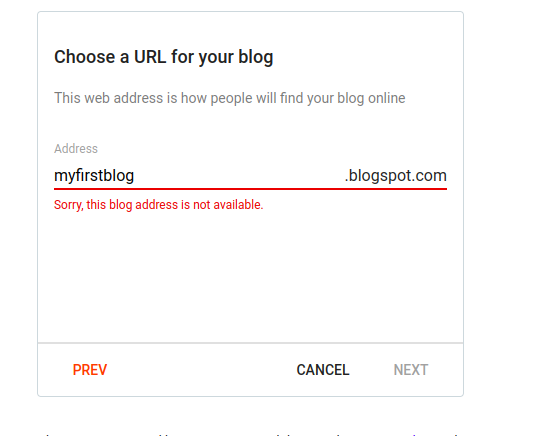
Step 6: Enter Blog address and Click Next , as shown in screenshot

Here blog address will be unique for each blogger , if you will provide blog address which is already taken by someone , then it will give you error as below
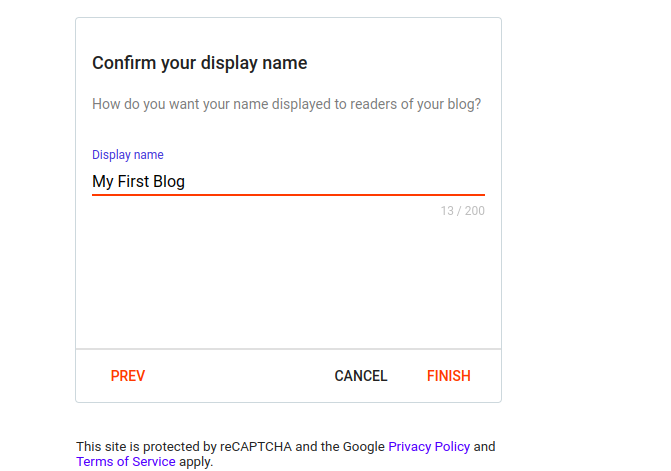
Step 6 : Now Final step is to confirm your blog name and click on Finish, See below
It will take 5-10 seconds to finish your blog creation. After that you will be redirect to blogger dashboard as shown below
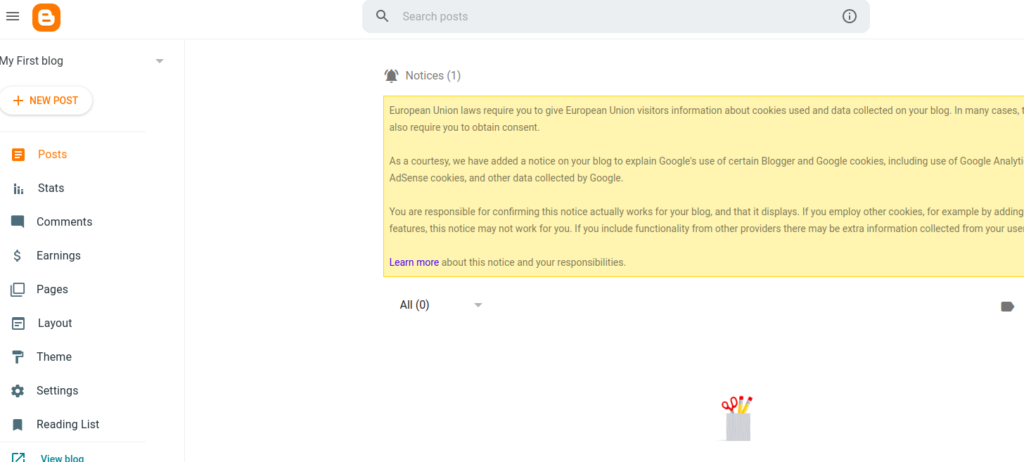
Now you can create your New Post by click on New Post which you can see in left side menu.
You will see screen like below.
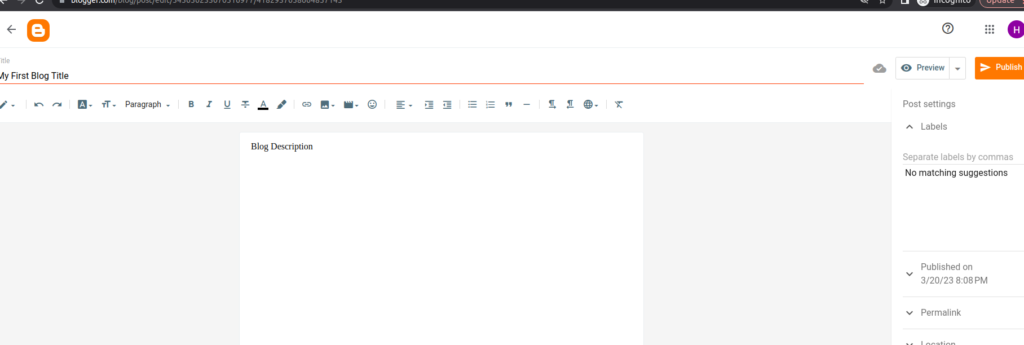
You can enter your blog title , and description and then you can publish by clicking on publish button.
That’s it here you go with your blogging website and you can view your blog website using url like yourblog.blogspot.com
Now if you want to integrate custom domain then follow below steps
Step 1 : Buy a good domain name which match your blog website.
You can buy domain name either from godaddy.com or www.hostinger.in
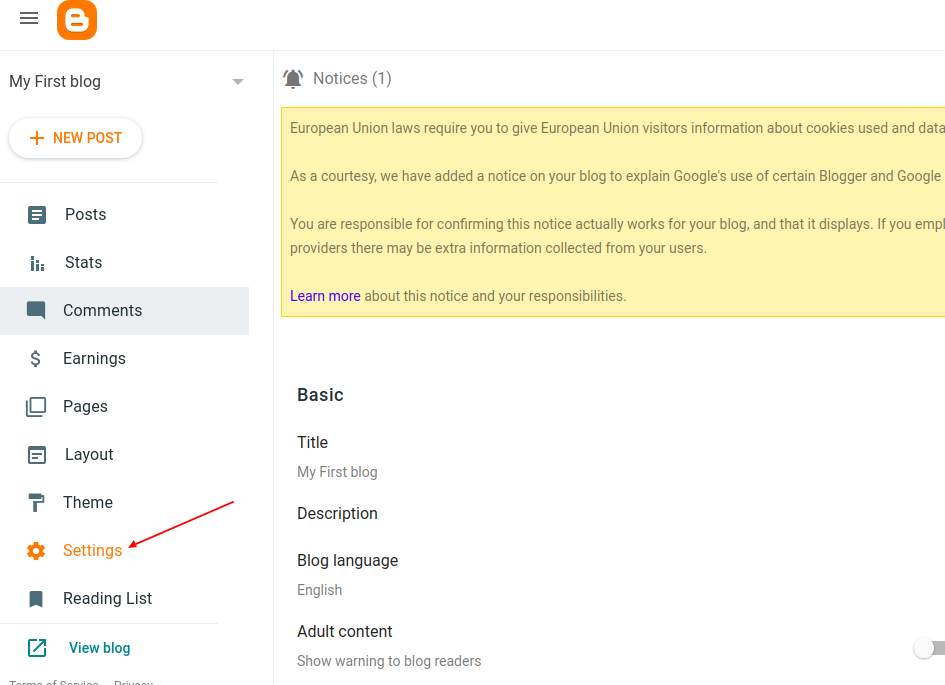
Step 1: Click on Settings from Left Menu , as shown picture below
Now you will see custom domain option in publishing section as shown below screenshot
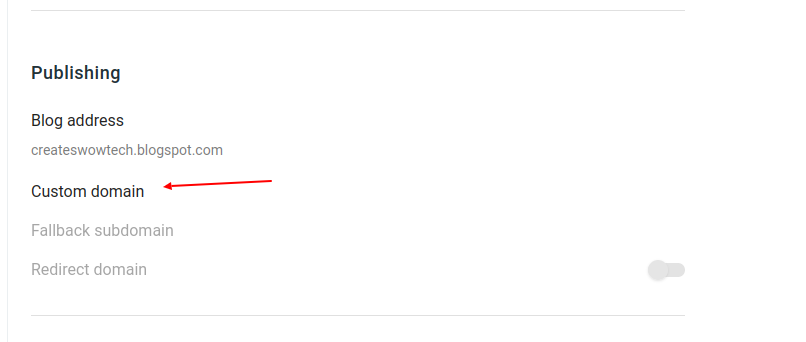
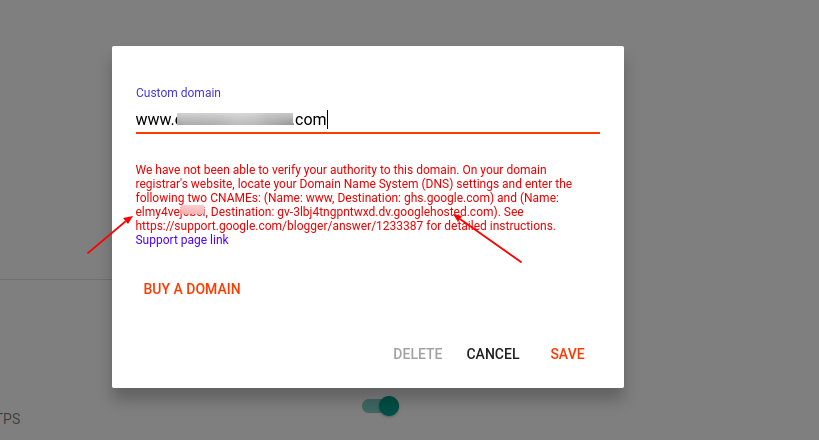
Now Click on custom domain and you will see screenshot below so enter your domain name.
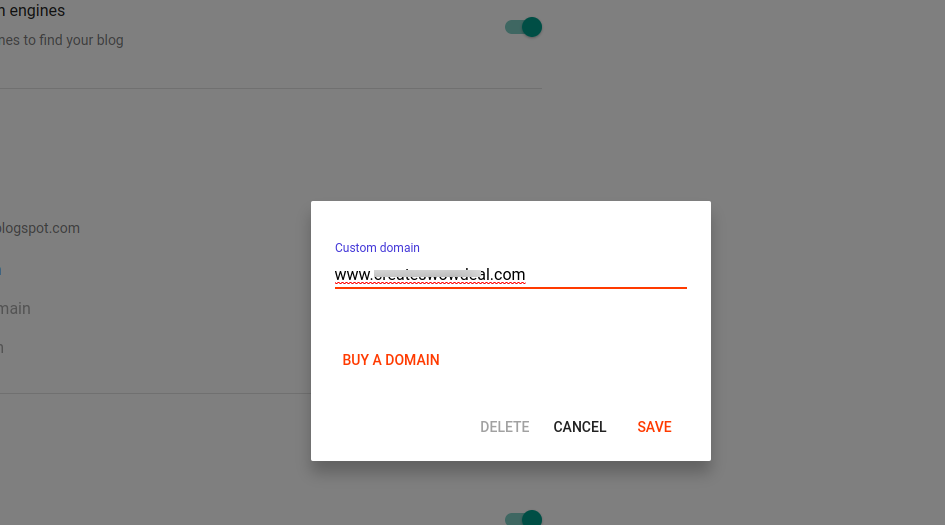
Now if you will click on Save then you will see error as below

It means you haven’t setup blogger.com DNS in your domain yet. So to do that you need to setup DNS as per their guidelines , I have bought my domain from hostinger.in so will show you how you can setup DNS for your domain , so if you have bought or planning to buy domain from hostinger.in so u can follow same steps.
Step 1: Login to your hostinger.in
Step 2 : You can see your domains in dashboard as below

Click on Manage button you will see below
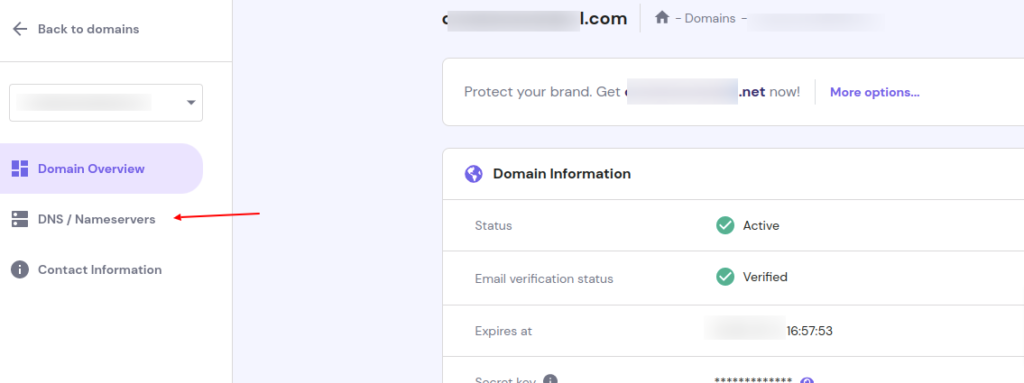
Click on DNS / Nameservers menu
Now click on Edit Link and change your CNAME to ghs.google.com. as shown below
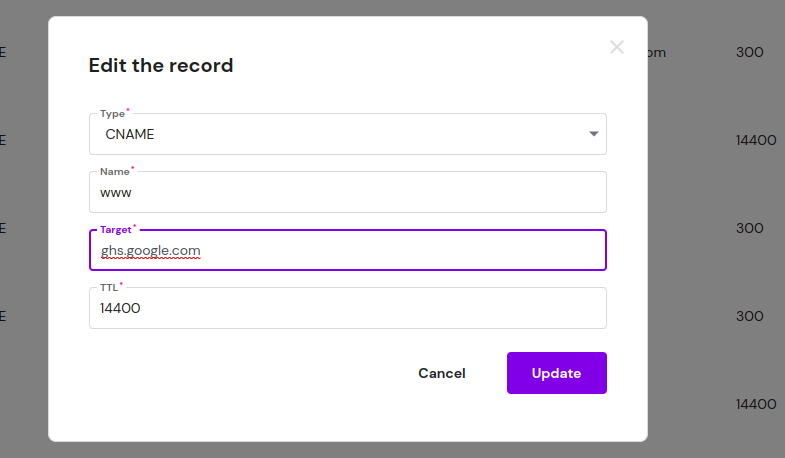
You will see update as below

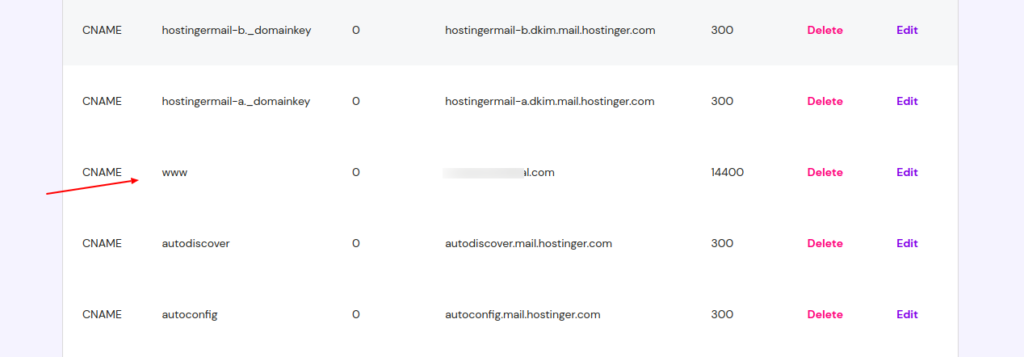
Now for another CNAME , It will be specific to your blog so take it as below
Now go to your hostinger.in and select CNAME from dropdown as below

Now enter name and target and click on Add Records , See below Screenshot

Now It will display CNAME as below

Now go to your blogger.com custom domain setup and click on Save, If it is not throwing any error means your domain DNS is setup properly.
Now you need to give it atleast 1 hour to propagation. after that when you will open your domain from browser it will open your blogger website.
After propagation when you visit your domain yourblog.com then you can see result like this

There are many things / customization you can do with blogger.com which we will understand in our next topic.
WordPress (wordpress.com)
Second Top Online Free blogging tool after blogger.com is wordpress.com. wordpress.com is known for it’s wide range of customization options and flexibility it provides users to create blog website.
WordPress.com comes with free and paid plans. But as a start you can choose free plan as it offers 1 GB Storage. But negative side with free plan that you cannot integrate custom domain with
Now we will understand how you can setup blog on wordpress.com
Step 1: visit wordpress.com and click on Get Started
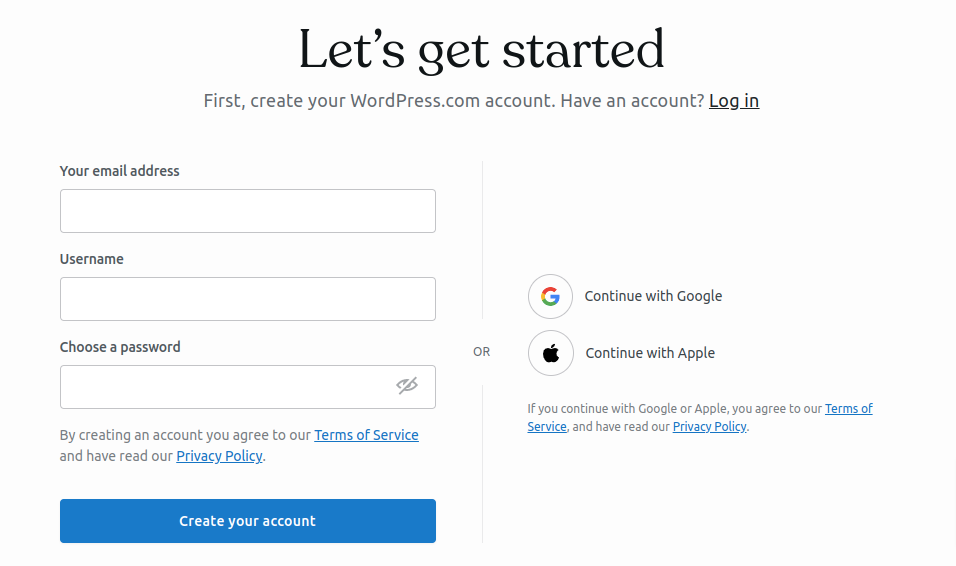
Now Here either you can create manualy or you can use social login like gmail or apple login
Now you need to enter blog address as below
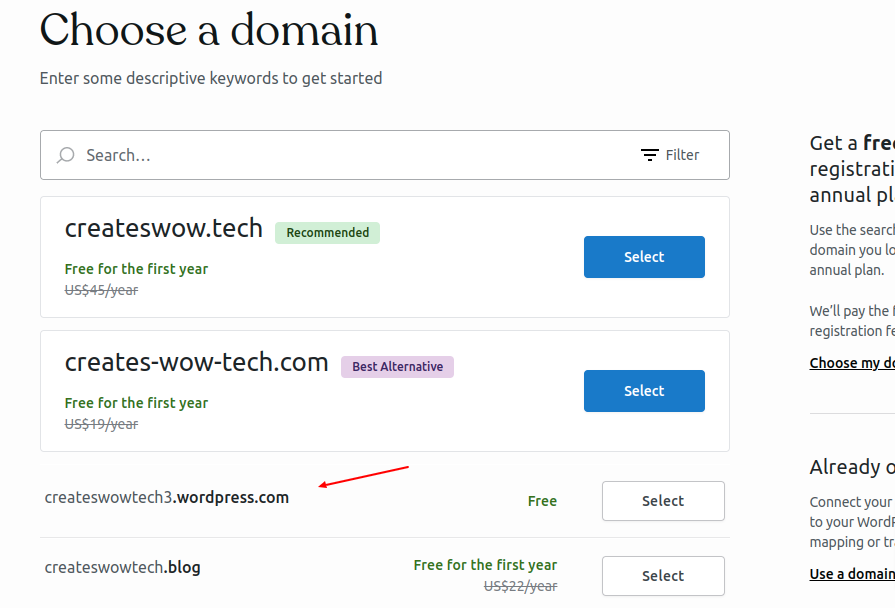
So you can see when we enter createswowtech so it gives us option either custom domain or subdomain if you choose to buy custom domain then you have to pay wordpress annual fee. So for now we will go with free plan which is subdomain as shown above in arrow
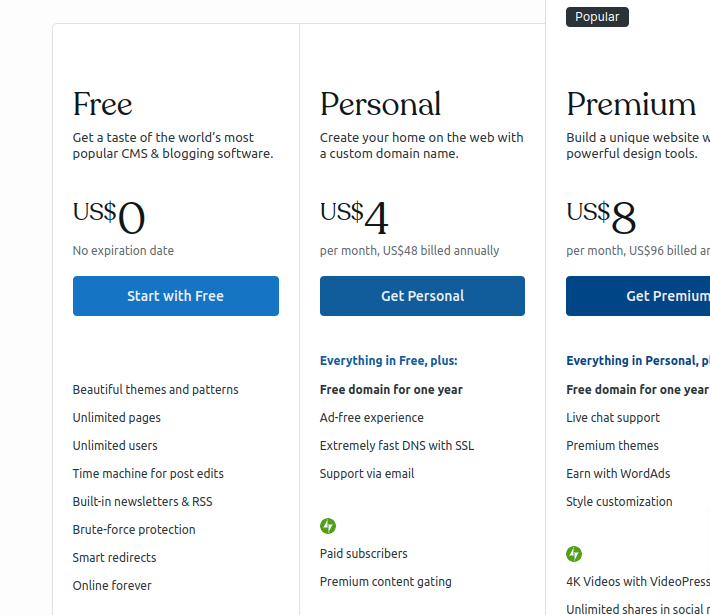
Here you can select Free plan
Then u can click on Skip to Dashboard link
You can see admin like below
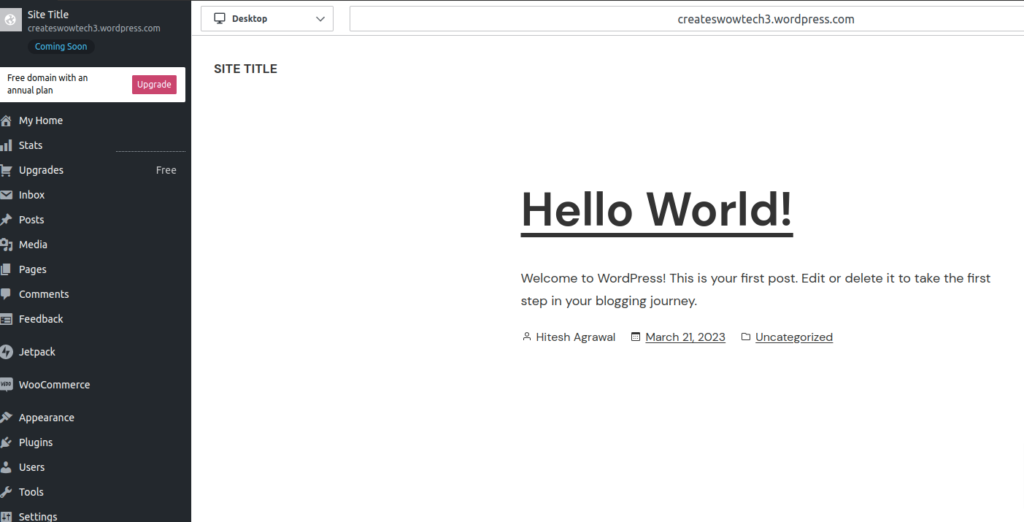
Now you can create category , post etc.