In This chapter , We will cover that how you can setup environment in windows for react native app.
If you are new mobile app developer , I will suggest you to start with Expo. With Expo it is very easy to start mobile app development,
Benefits to use Expo
- 3rd Party Service and 100% free to use
- Managed app development
- Many features
- Large Commuity
- Switch to native CLI anytime
- Not necessary to install Android simulator, you can use your own device to test app while development
- You can try react native before setup envionment in your local , check Snack
Installation
- Install nodejs latest verision
- Install Visual Studio editor (Recommended)
- Then run below command to install expo-cli
npm install -g expo-cliNow to verify that expo has been installed in your system , run below command
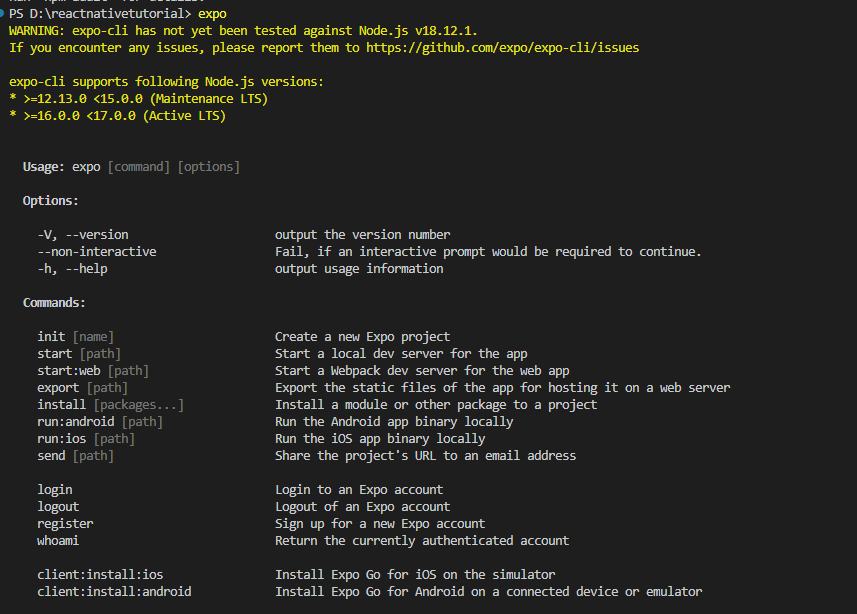
> expoYou will see below output
Now you can install Expo Go in your iOS or Android phone and connect it to same wireless network
After install expo go you can use QR code from your terminal to open your project in your device.
Now you can run either of below command to create your new react native project
npx create-expo-app firstapp
OR
expo init firstapp
As expo-cli is not tested yet agains node js 18+ version so I will suggest to use first command npx create-expo-app command
You will see below output

Now you can run below command to start your app
npm start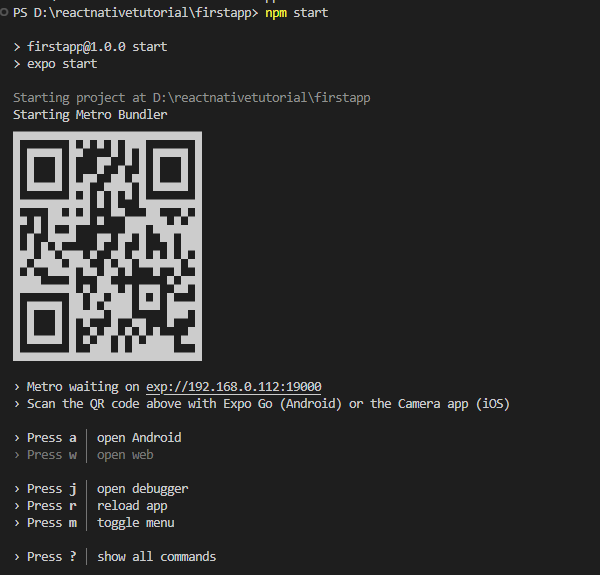
Just scan the QR code from your mobile and you can see below screen.

Now you can modify your code and save and you can see your changes immediately in your device.
Now in next chapter we will understand about project structure.
Hope you find this topic helpful , Please share with your friends and visit us again.
Happy Learning!