React Native has become one of the most popular frameworks for building cross-platform mobile applications. With a single codebase, developers can create powerful Android and iOS applications using JavaScript and React. Whether you are a web developer looking to transition into mobile development or a complete beginner, React Native offers an excellent learning experience.
One of the biggest challenges beginners face is setting up the development environment. Installing Android Studio, configuring SDKs, setting environment variables, and managing emulators can be overwhelming for newcomers.
Fortunately, Expo makes React Native development much easier. Expo provides a managed development environment that allows you to build and test React Native applications without worrying about complex native configurations.
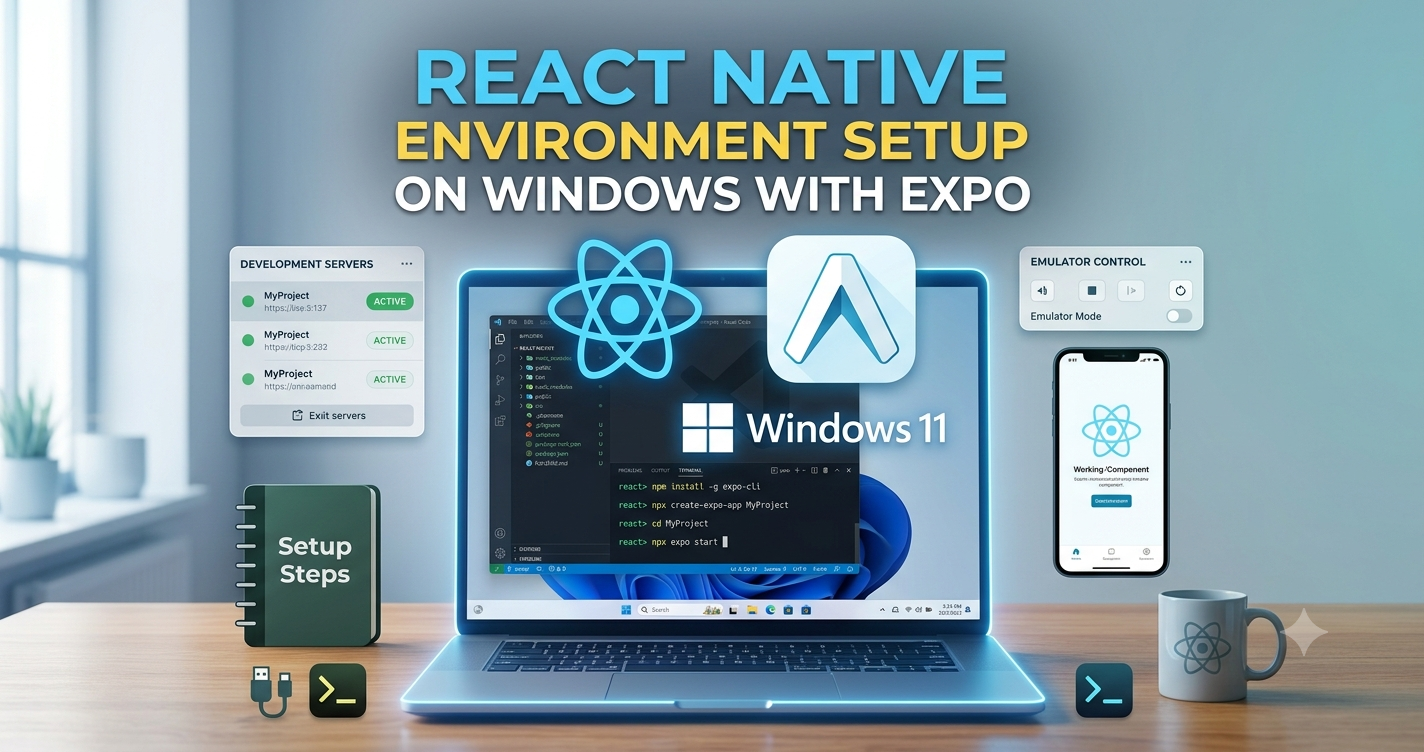
In this tutorial, we'll learn how to set up a complete React Native development environment on Windows using Expo. By the end of this guide, you'll have your first React Native application running on your mobile device.
Why Choose Expo?
If you are completely new to React Native, I highly recommend starting with Expo rather than the Native CLI.
Expo abstracts away much of the native complexity and allows you to focus on learning React Native instead of configuring development tools.
You can always migrate to the React Native Native CLI later when your application requires advanced native features.
What is Expo?
Expo is an open-source platform built around React Native that simplifies mobile application development.
Instead of installing Android Studio, Xcode, Gradle, Android SDK, and many native dependencies initially, Expo allows developers to create and test applications within minutes.
Your application runs inside the Expo Go mobile application, making development extremely fast.
Benefits of Using Expo
There are many reasons why thousands of React Native developers prefer Expo, especially when starting a new project.
1. Completely Free
Expo is free to use for individual developers and small teams.
You can develop, build, and publish applications without purchasing any licenses.
2. Quick Setup
With Expo, there is almost no complicated setup.
Install Node.js.
Install Expo.
Create your project.
Start coding.
Within minutes your application is running.
3. Managed Workflow
Expo manages:
Native dependencies
Project configuration
Build process
Asset management
OTA (Over-the-Air) updates
This allows developers to spend more time building features instead of fixing configuration issues.
4. Large Community
Expo has one of the largest React Native communities.
You'll find:
Documentation
Tutorials
GitHub examples
Stack Overflow answers
YouTube videos
Community plugins
Almost every beginner problem has already been solved by someone else.
5. Hundreds of Ready-to-Use APIs
Expo includes many built-in libraries such as:
Camera
Image Picker
Maps
Notifications
Location
Contacts
Device Information
Barcode Scanner
Secure Storage
File System
Clipboard
Sensors
You don't need to configure native modules manually.
6. Test on Your Real Device
One of the biggest advantages is that you don't need an Android Emulator initially.
Simply install Expo Go from the Play Store or App Store.
Scan a QR code.
Your application opens instantly on your device.
This makes development much faster.
7. Live Reload
Whenever you save your code, Expo automatically refreshes the application.
This provides an excellent developer experience.
8. Easy Migration to Native CLI
As your application grows, you may need native modules not supported by Expo.
Don't worry.
Expo allows you to migrate your application to the React Native Native CLI whenever required.
Your React code remains unchanged.
Prerequisites
Before starting, make sure your system has:
Windows 10 or Windows 11
Internet connection
Administrator access
Android or iPhone (recommended)
Step 1: Install Node.js
React Native applications require Node.js.
Visit the official Node.js website and download the latest LTS (Long-Term Support) version.
After installation, open Command Prompt and verify the installation.
node -vYou should see something like:
v22.x.xNow verify npm.
npm -vIf both commands work successfully, Node.js has been installed correctly.
Step 2: Install Visual Studio Code
Although you can use any code editor, Visual Studio Code is highly recommended.
VS Code offers excellent support for:
JavaScript
TypeScript
React
React Native
Git
Extensions
Debugging
IntelliSense
Recommended VS Code Extensions
Install these extensions:
ES7+ React Snippets
Prettier
ESLint
React Native Tools
GitLens
Error Lens
Material Icon Theme
These extensions significantly improve productivity.
Step 3: Create a New Expo Project
Previously developers installed Expo CLI globally.
npm install -g expo-cliHowever, the recommended approach today is to use npx, which always downloads the latest compatible version.
Create your first project:
npx create-expo-app firstappReplace firstapp with your preferred project name.
Example:
npx create-expo-app myReactNativeAppThe installer downloads all required dependencies.
This may take several minutes depending on your internet speed.
Why Use npx Instead of expo-cli?
Older tutorials recommend:
expo init firstappHowever, this approach depends on the globally installed Expo CLI, which can become outdated and may not work properly with newer Node.js versions.
Using:
npx create-expo-appensures:
Latest Expo version
Better compatibility
No global installation
Easier maintenance
Therefore, this is the recommended method.
Step 4: Open the Project
Move into your project directory.
cd firstappOpen VS Code.
code .Your project structure appears.
Understanding the Project Structure
A newly created Expo application includes several folders and files.
Some important ones are:
firstapp/

app/

assets/

node_modules/

package.json

app.json

babel.config.js
app/
Contains your application screens.
assets/
Stores images, icons, fonts, and static resources.
package.json
Contains dependencies and project scripts.
app.json
Stores Expo configuration.
Step 5: Start the Development Server
Run:
npm startor
npx expo startExpo starts the development server.
After a few seconds, you'll see:
QR Code
Local URL
Metro Bundler
Keep this terminal running.
Step 6: Install Expo Go
On your smartphone:
Android
Open Google Play Store.
Search for:
Expo Go
Install the application.
iPhone
Open the Apple App Store.
Search for:
Expo Go
Install it.
Step 7: Connect to the Same Wi-Fi
Ensure that:
Your computer
Your mobile device
are connected to the same wireless network.
Otherwise the QR code may not work.
Step 8: Scan the QR Code
Open Expo Go.
Scan the QR code shown in your terminal.
Within a few seconds your React Native application opens on your phone.
Congratulations!
You have successfully created your first React Native application.
Making Your First Change
Open:
app/index.tsxor
App.jsdepending on the project template.
Replace the existing text.
Example:
<Text>Welcome to CreatesWowTech!</Text>Save the file.
Instantly your phone refreshes and displays the updated text.
No manual rebuild is required.
This is called Fast Refresh, one of React Native's most powerful productivity features.
Common Commands
Create project
npx create-expo-app myappMove inside project
cd myappStart project
npm startStart using Expo
npx expo startInstall package
npm install package-nameAdvantages of Using a Physical Device
Testing directly on your smartphone provides several benefits:
Faster than emulators
Real camera testing
GPS testing
Notifications
Better performance analysis
Touch gesture testing
Real hardware sensors
Many experienced developers continue using physical devices during development.
Common Problems and Solutions
QR Code Not Working
Ensure both devices are connected to the same Wi-Fi network.
Restart Expo using:
npx expo start --clearMetro Bundler Not Starting
Delete:
node_modulesand reinstall dependencies.
npm installNode Version Issues
Always use a supported LTS version of Node.js for the best compatibility with Expo.
Firewall Blocking Connection
Windows Firewall may block incoming connections.
Allow Node.js through the firewall when prompted.
Expo Go Cannot Connect
Try switching the connection mode inside Expo from LAN to Tunnel.
Tunnel mode often resolves network restrictions.
Best Practices
While learning React Native with Expo, keep these best practices in mind:
Keep Node.js updated.
Use Git for version control.
Create meaningful project names.
Install only necessary dependencies.
Organize components into folders.
Use TypeScript for larger projects.
Commit code frequently.
Test on both Android and iOS whenever possible.
When Should You Switch to React Native CLI?
Expo is perfect for most applications.
However, you may eventually need the Native CLI if your project requires:
Custom native Android code
Custom iOS Swift/Objective-C code
Unsupported native libraries
Specialized Bluetooth integrations
Advanced hardware integrations
Deep native SDK customization
The good news is that migrating from Expo to the Native CLI is straightforward, so starting with Expo does not limit your future options.
What's Next?
Now that your environment is ready, you're prepared to begin building React Native applications.
In the next chapter, you should explore:
React Native project structure
Components
JSX
Styling with Flexbox
Navigation
State management
API integration
Local storage
Deployment to Google Play Store and Apple App Store
Each of these topics builds on the foundation you've created by setting up your development environment.
Conclusion
Setting up a React Native development environment no longer needs to be a difficult task. Thanks to Expo, beginners can start building cross-platform mobile applications in just a few minutes without configuring Android Studio, SDKs, or emulators.
By following this guide, you've learned how to install Node.js, set up Visual Studio Code, create your first Expo project, run the development server, install Expo Go, and test your application on a real device. Expo's managed workflow, Fast Refresh, and extensive ecosystem make it one of the best ways to learn React Native and rapidly prototype mobile applications.
As your skills grow, you can seamlessly transition to the React Native Native CLI for advanced native functionality. Until then, Expo provides everything you need to build high-quality Android and iOS apps efficiently.
I hope this tutorial has helped you successfully set up your React Native environment on Windows. If you found it useful, share it with your friends and fellow developers, and keep following CreatesWowTech for more in-depth React Native tutorials, tips, and best practices.