What React Native is (and is not)
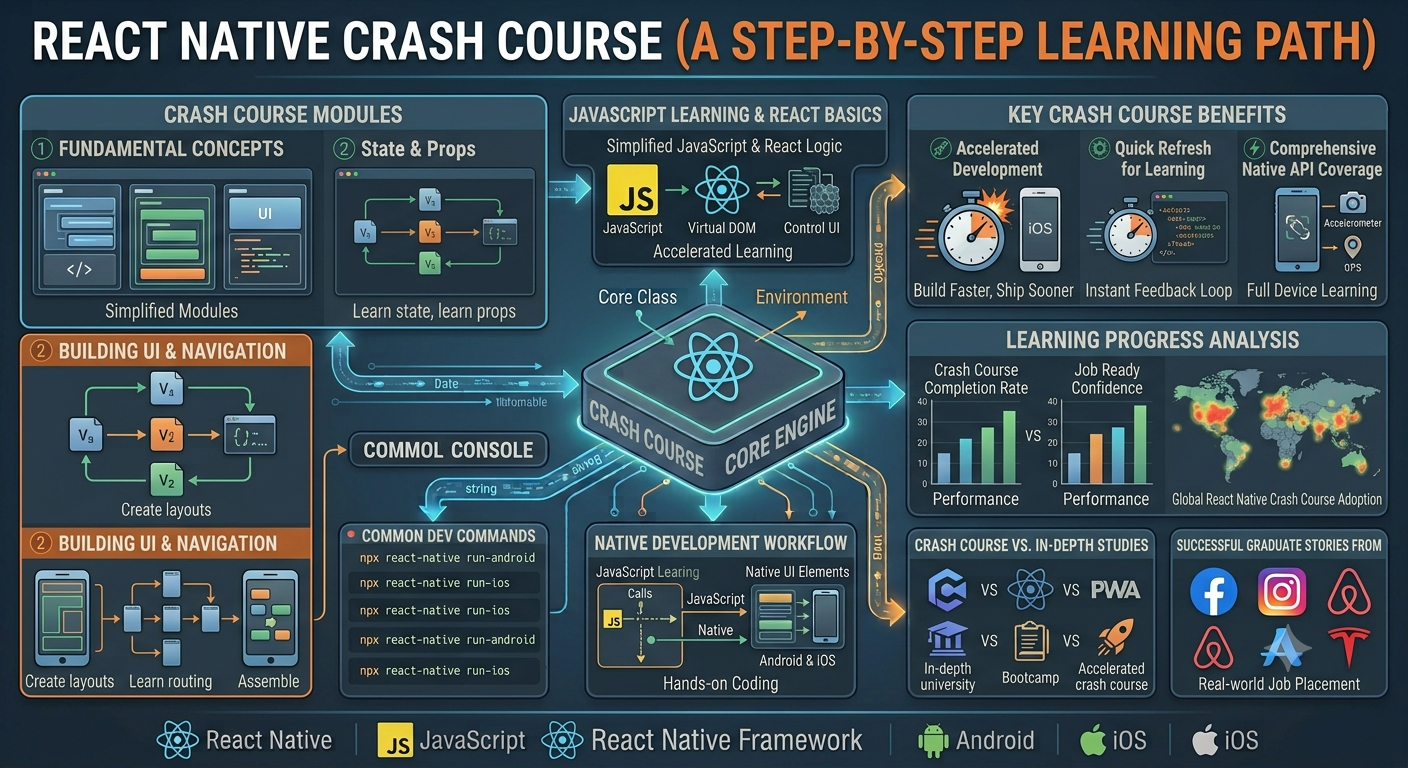
React Native lets you build mobile apps with React concepts while rendering native UI primitives. You write JavaScript/TypeScript components; the bridge/runtime maps them to iOS and Android views. It is not a WebView wrapper for your entire app (though WebViews can be used selectively).
Setup options
- Expo: fastest onboarding, great for learning and many production apps.
- React Native CLI: more native module control, heavier environment setup.
Beginners should start with Expo unless a hard requirement forces bare workflow immediately.
Core building blocks
import { View, Text, Button } from "react-native";

export function Hello() {
  return (
    <View style={{ padding: 16 }}>
      <Text>Hello React Native</Text>
      <Button title="Press" onPress={() => {}} />
    </View>
  );
}
Learn View, Text, Image, ScrollView/FlatList, and TextInput first.
Layout with Flexbox
React Native uses Flexbox by default (flexDirection: 'column'). Master flex, justifyContent, alignItems, and spacing. Avoid assuming CSS web defaults for margins on every element.
State and effects
Use useState for local UI state and useEffect for subscriptions/fetching. Lift state only when siblings must share it. For app-wide state, consider Context carefully or a lightweight store when complexity grows.
Navigation
React Navigation is the community standard for stacks, tabs, and drawers. Keep routes typed if you use TypeScript, and avoid deeply nested navigators without a clear IA.
Fetching data
useEffect(() => {
  fetch("https://api.example.com/items")
    .then((r) => r.json())
    .then(setItems)
    .catch(console.error);
}, []);
Handle loading and error UI. For lists, prefer FlatList with stable keyExtractor.
First app checklist
- Create Expo app and run on a device/simulator.
- Build a screen with list + detail navigation.
- Add a form with validation.
- Persist a token with secure storage when auth appears.
- Test on both iOS and Android early.
Next steps
Learn app lifecycle, performance profiling, offline caching, and store submission requirements. Ship a small app end-to-end before chasing advanced native modules.